What is a Rube Goldberg Machine? A Rube Goldberg Machine is a machine that takes a long and convoluted route and strategy to achieve a goal. In the case of ours, it used 10 complicated steps to cut a rope where normally it would only take one step. This is what makes these machines so unique.
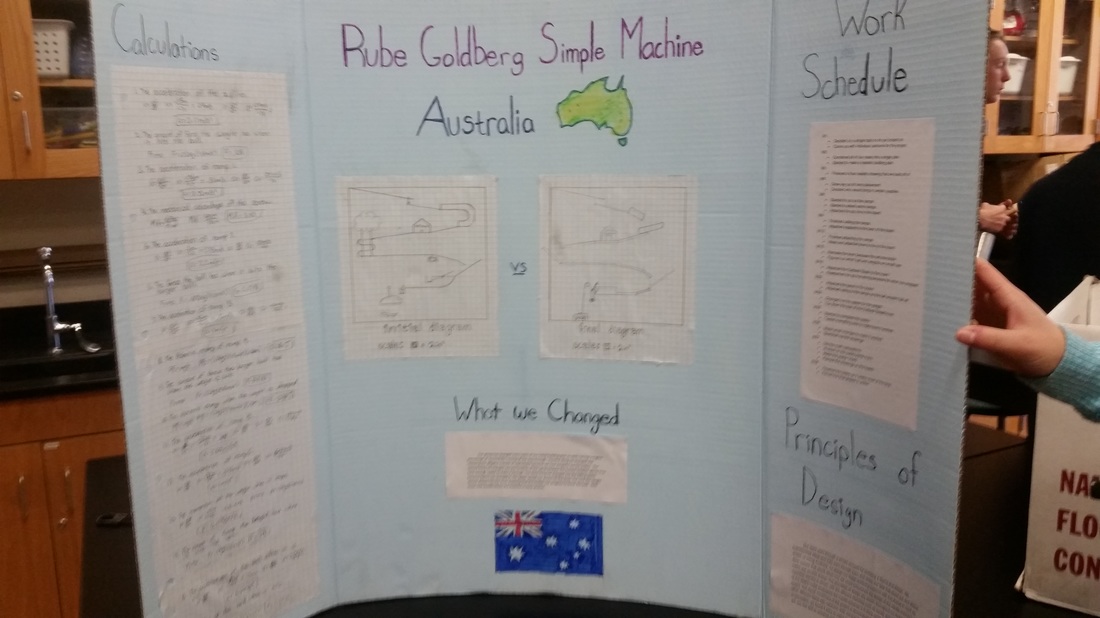
About our Rube Goldberg Machine...
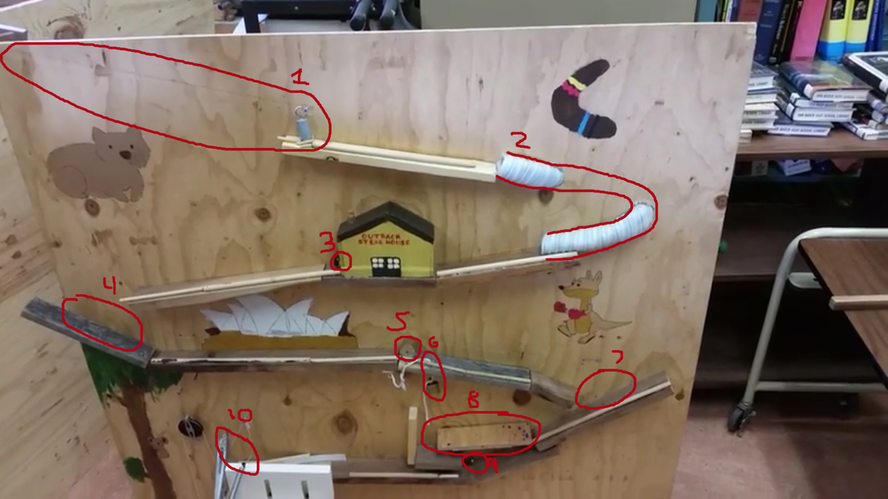
My group decided that for our projects theme we should have it be Australia. We decided to have this be our theme because we thought that we would have a lot of fun coming up with ways to incorporate this into our building. As you can see in the picture, the machine starts off with a zip line. We had this be our first step because we thought that there is a lot of zip lining in Australia. Our second step is the ball going through a screw and then coming out the other side. Our third step Is when the original starting ball hits a larger ball at the other end of the Outback Steakhouse. The fourth step is when the large ball falls onto the slanted wood and is directed down the lower level. Our fifth step is then the large ball then hits a large weight and then the large weight rolls and hits a nut balancing on the board to drop the weight which is then step six. The seventh step is similar to the fourth step but it is redirecting the large weight instead of a large marble. The eighth step is when the lever is turned up when the weight falls on one end of it. The ninth step is then the large weight goes under the lever and hits a small ball, propelling it forward. Finally, our tenth step is when the small ball hits a dowel propping up a knife, causing the knife to whip forwards because of the spring attached to it and cut the rope, which in turn, releases the alligator from its cage. Now here is our video of the machine working.
The things we changed....
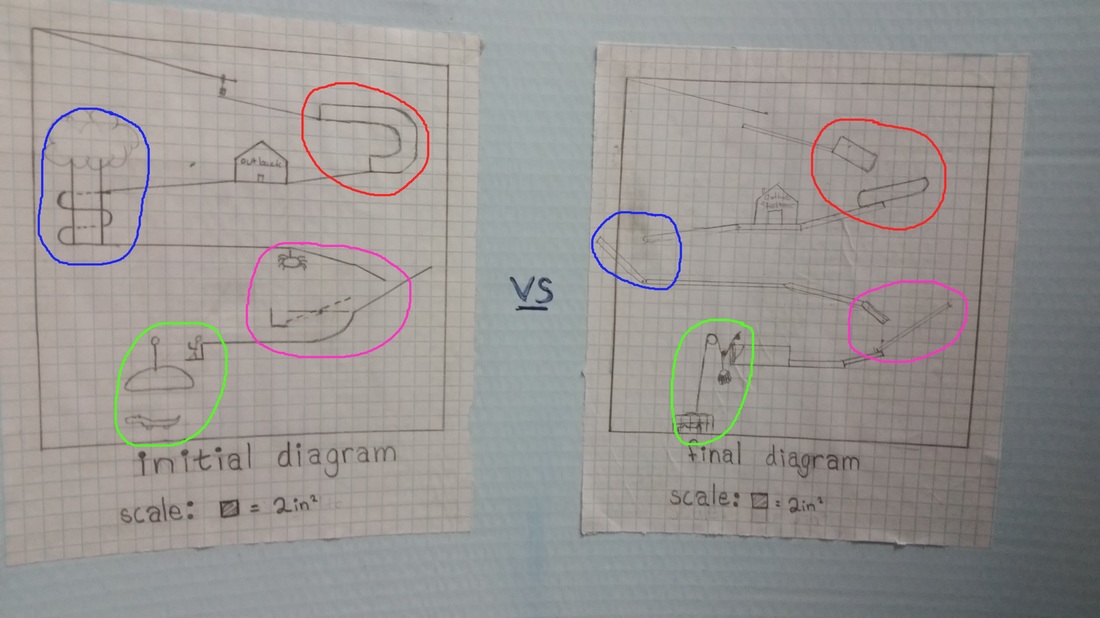
As you can see, the biggest change was the misplacement of the screw and pipe in our original drawing. (Red) In the initial drawing, you can see that we had a pipe diverting the ball to the lower level. But as you can see in the final blueprint, you can see an odd shape that is really a screw that goes through the back of the board and then the ball in on the lower level. Another big change was in the blue you can see where our screw used to be, that is now being occupied by just a diverting piece of wood. And our final change is the green. There is no obvious change just looking at the picture, but we had decided in the initial to release the alligator, but then in the final we changed it to being caught to make proper use of the pulley system.
These our the simple machines that we used…
-Inclined plane
-Screw
-Lever
-Wedge
-Pulley
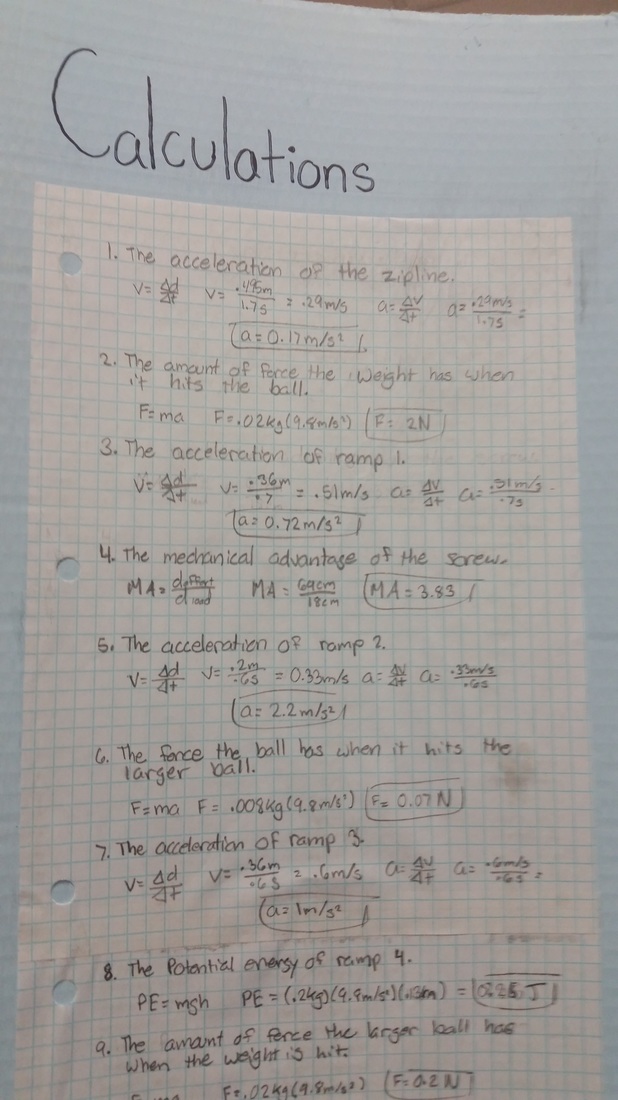
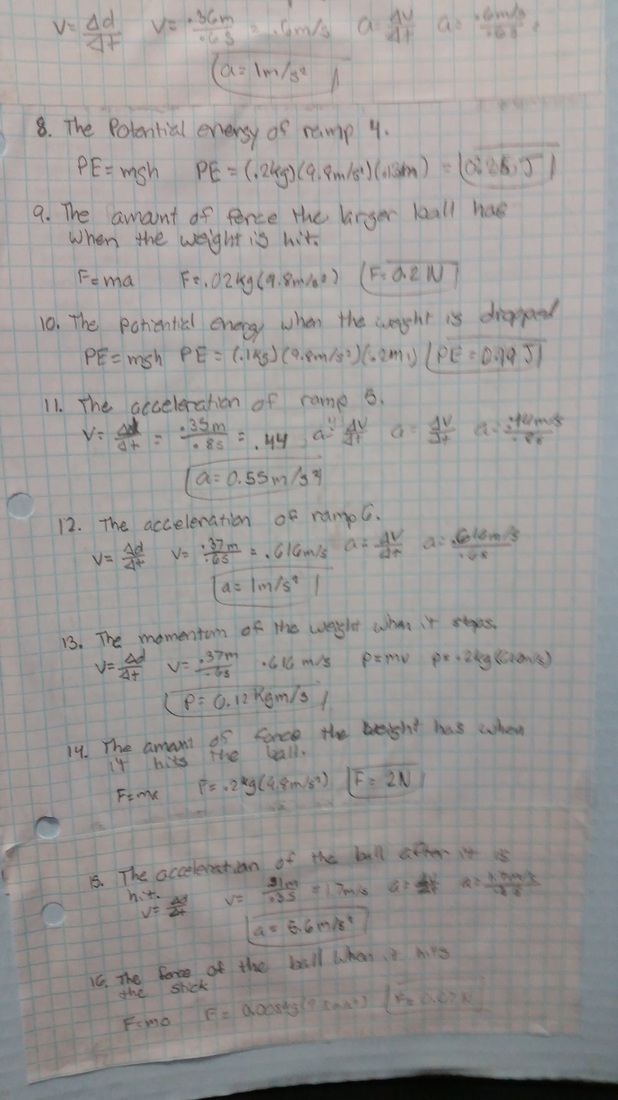
These are our calculations. These are the functions and equations that make the whole thing run smoothly.
Work schedule...
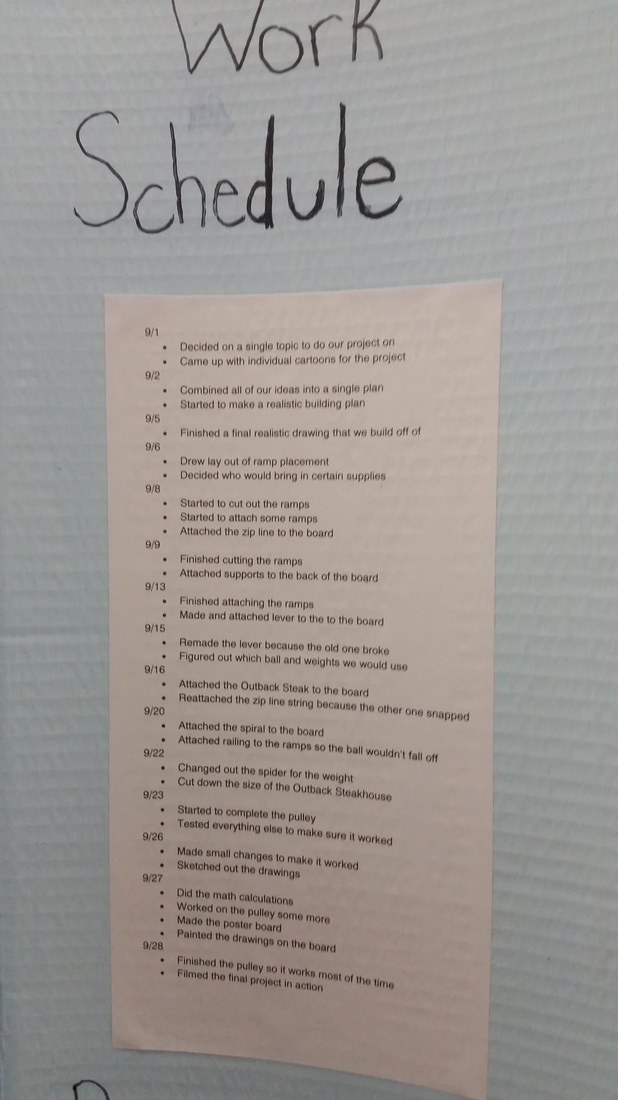
This is our work schedule. This shows what we did and on which days we did them.
This is our work schedule. This shows what we did and on which days we did them.
Things I wish I did differently...
The first main thing that I wish I could do differently, would be to make a better lever or make a better system for the lever. Our lever was not very good because it was only held in with a loose nail through the board and most of the time the nail got loose and the lever would either wobble around a lot and cause the entire process to be unraveled, or it would fall off completely. The only other part of the machine that we had continuous problems with was trying to get the ball to hit the knife and cut the rope to activate the pulley.
The first main thing that I wish I could do differently, would be to make a better lever or make a better system for the lever. Our lever was not very good because it was only held in with a loose nail through the board and most of the time the nail got loose and the lever would either wobble around a lot and cause the entire process to be unraveled, or it would fall off completely. The only other part of the machine that we had continuous problems with was trying to get the ball to hit the knife and cut the rope to activate the pulley.
